Some users will have to provide feedback on cases related to a Working Area they do not belong to (aren’t assigned to). You might not want to assign the user to this Area because he/she will have complete access to it and this could be a security concern or could make the case creation process a bit more complicated for that user. When you find yourself in a situation like this, the Associated Area option will help.
When you choose the option to associate a user to an area, you are limiting Followit to only allow cases to be delegated to them. Cases cannot be referred to, or created by such users since they do not belong to that area.
For example, if you are creating the Human Resources area in your Followit environment, you may need to request HR documentation from your employees. You probably will not want to assign all your employees to the HR area because they actually do not work in this department. So here you use the Associated Area option. This way you can delegate HR requests to your employees without having to change the case information to their Working Area to be able to send them the case.
To Associate an Area to a User follow these steps:
Now, the users associated to the area will show up in the Delegate To options.
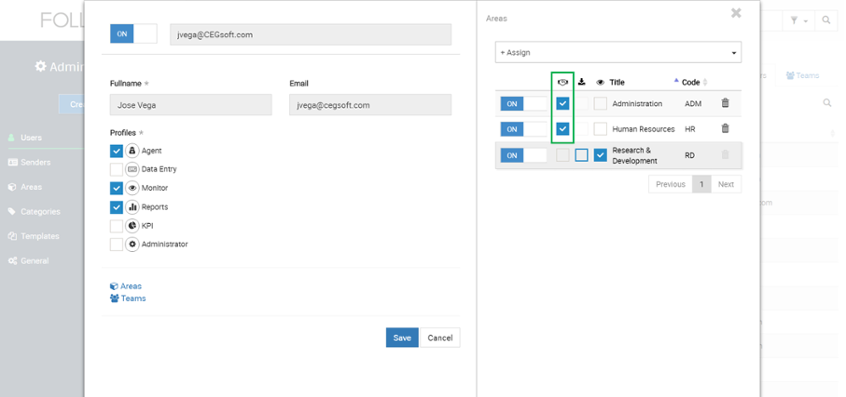
Note: You can also configure the Associated area option by going to the Administration Area section, opening the Area window, clicking on the user link, adding the users to the area and marking the user as associated.
Want to watch the Video Tutorial? Click Here
Our Software Solutions are tailored to foster efficient, cost effective, and environmentally friendly workplaces.
More about us