Categories help organize the cases’ by subjects or topics. You can add all topics or tasks that could categorize a case within your Followit Environment. For example, some topics and tasks in categories could be: To Do, Correspondence, Requests, Approval Needed.
In order to create a Category you need to have the following information already created on your environment:
Areas to assign (you can assign them here or assign a Category in the Areas section).
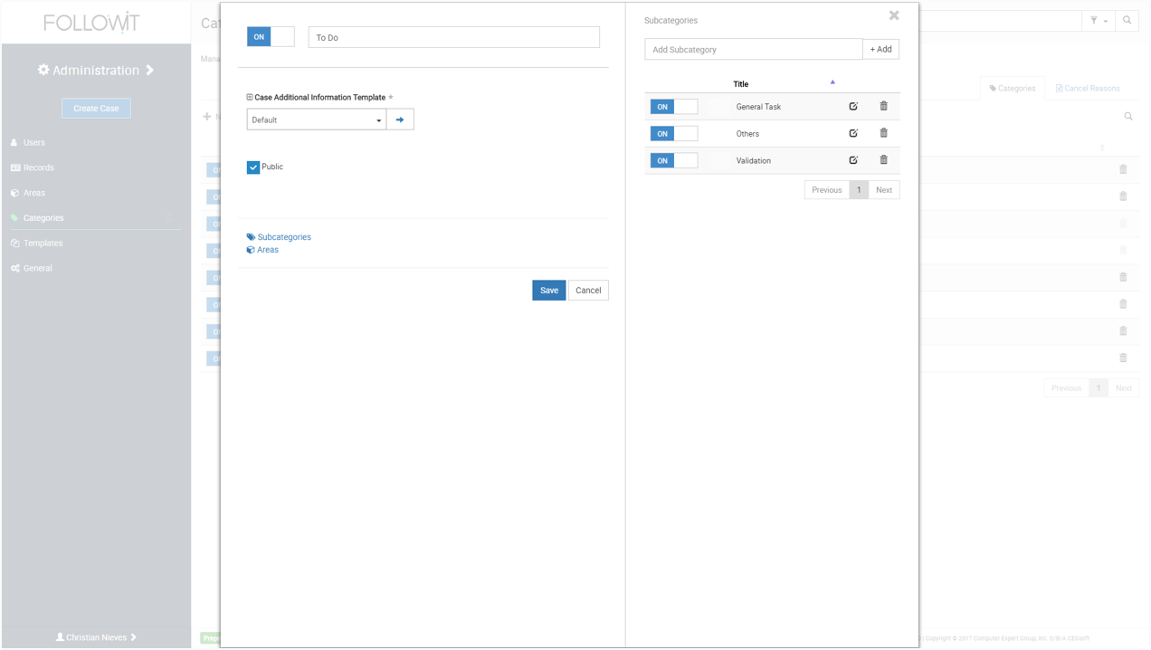
After creating the Category, you can select it to deactivate, edit or delete it in the Categories list. If you select the Category to edit, you can change the name, the additional information template, add subcategories, and assign Areas to it.
Public/Private Categories
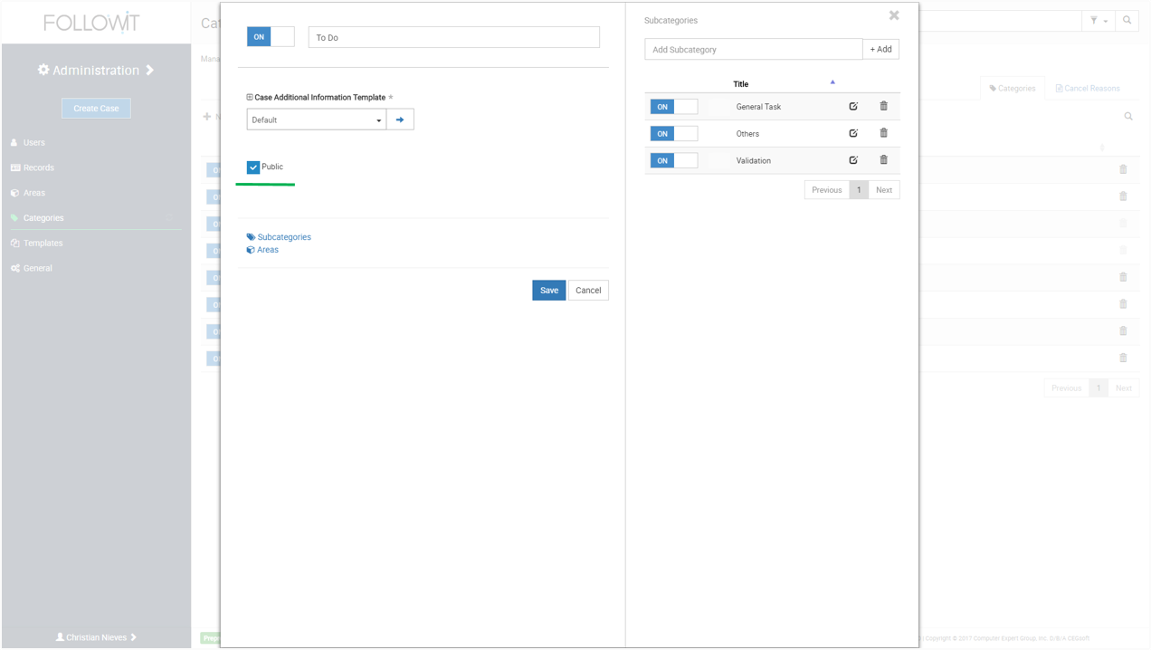
A Category can be made Public or Private depending on your needs. A Public Category can be viewed and selected in a case by anyone. A Private Category can only be selected by the area users within the Registering Area. Private Categories are different from Secure Areas because it is not protecting the contents of the case but it is protecting the Category from being selected and used in a case by users from different areas than the Registering one. Categories are made Public by default when created.
To change the state of the Category:
Navigate to Administration > Categories
Select the category that you want to change the state for and the edit window will pop up.
Remove the checkmark on the “Public” field to make it “Private” or leave it checked to keep it Public.
Want to watch the Categories Configuration Video Tutorial? Click Here